Quick Start
This article guides you through getting started with FIRERPA in the simplest way possible. Before you begin, make sure you have an Android phone. To take full advantage of all FIRERPA features, it is recommended that your Android device has root permissions. Of course, FIRERPA also supports running under shell (non-root) permissions. Some privileged features will be limited, but you can still use most of the main features.
Hint
Please ensure that you are using the latest version of the relevant software. The documentation content is progressive, and it is recommended that you read from Chapter 1 in order.
To simplify your usage, before you begin, you need to determine which environment your device has and treat them accordingly.
With Root Permissions
Please click the link to download our service application firerpa.apk. After installation, open the APP and grant the application root permissions, then wait for the service download and installation to complete. Click the start service button. If you need the service to start on boot, enable the auto-start switch.
Without Root Permissions
If your device does not have root permissions or you are not sure what root is, you need to install the service using the following method. You still need to install our service application first firerpa.apk. After installation, download Shizuku.apk and install it. After installation, refer to the official documentation Shizuku User Manual and How to unlock developer options on an Android Phone to complete the service startup and setup. Then, reopen our app, wait for the service download and installation to complete, ensure Shizuku is authorized, and after everything is done, click the start service button.
Attention
For some device models, the default auto-start behavior of the APP may be blocked by the system. In this case, you may need to find relevant settings to allow our APP to auto-start or add our app to the auto-start whitelist; otherwise, the service may not start normally after a reboot.
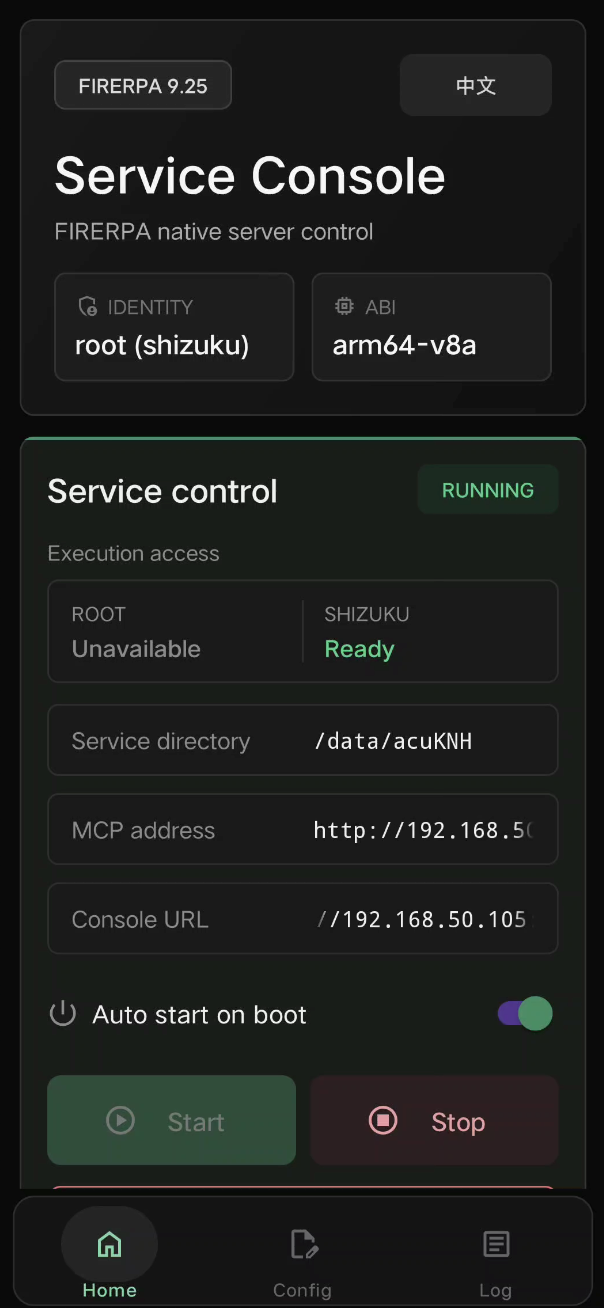
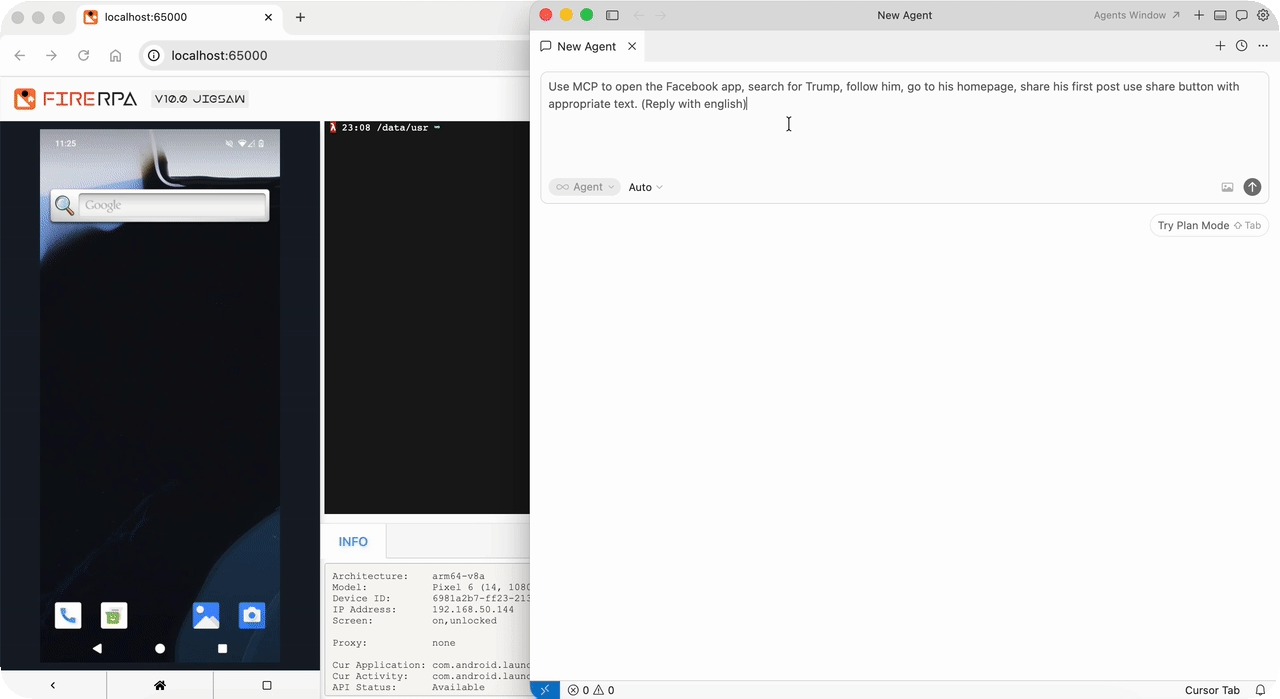
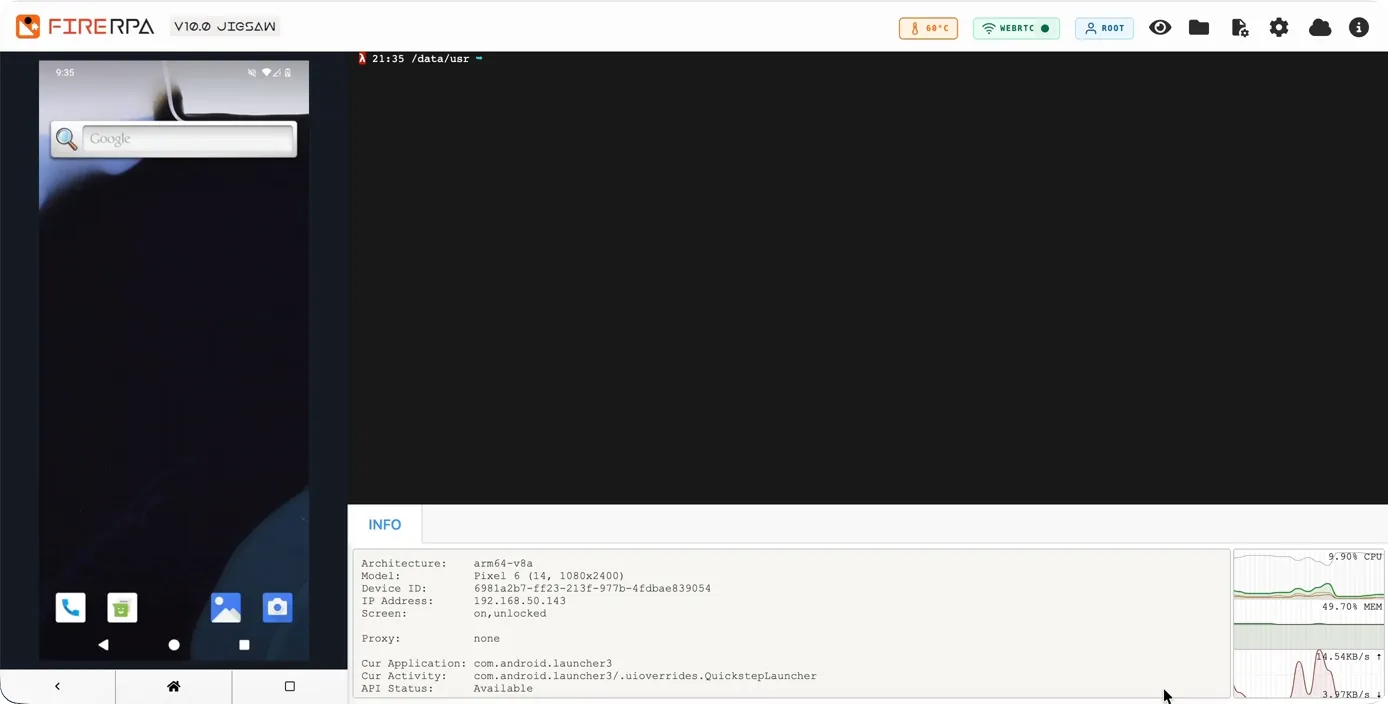
If everything is normal, you will see the above app interface after opening the APP. You can click to copy the Console URL and enter that address in your computer browser, which will give you access to the remote desktop shown below. At this point, you have completed the installation.
Hint
When in doubt, read the documentation first; if still clueless, join the group to ask questions. You can find contact information in the Technical Support section.
Of course, this is just our most basic installation operation and remote desktop feature. The features we provide go far beyond this. FIRERPA supports not only APP deployment but also manual or ROM built-in deployment. There are more APIs and tools for you to use. Continue exploring the subsequent documentation to learn more!