Using Frida
FIRERPA comes with the latest version of Frida built in, so you don't need to start frida-server yourself. Our built-in Frida already includes various open-source stealth patches and additional custom hiding features we've added — you don't need to worry about Frida being detected. If our built-in Frida is detected, it means most frida-server versions you can download are also detectable.
Attention
Starting from version 9.0, the built-in Frida 17.x requires you to bundle frida-java-bridge into your script yourself, otherwise you will encounter "Java not defined" related errors. This change is an official Frida update. According to the official migration guide, you need to create a Node.js project and import frida-java-bridge. For details, refer to: https://github.com/oleavr/frida-agent-example , or use the frida_script_generate.py we provide to package the JS script.
Using via Code
You can obtain a connected Frida instance by using d.frida, without having to manually construct a connection using the Frida library.
conn = d.frida
conn.enumerate_processes()
Of course, if you want to understand its underlying implementation, you can also refer to the following code.
# Get dynamic token
token = d._get_session_token()

manager = frida.get_device_manager()
conn = manager.add_remote_device("192.168.0.2:65000", token=token)
conn.enumerate_processes()
Using via Command Line
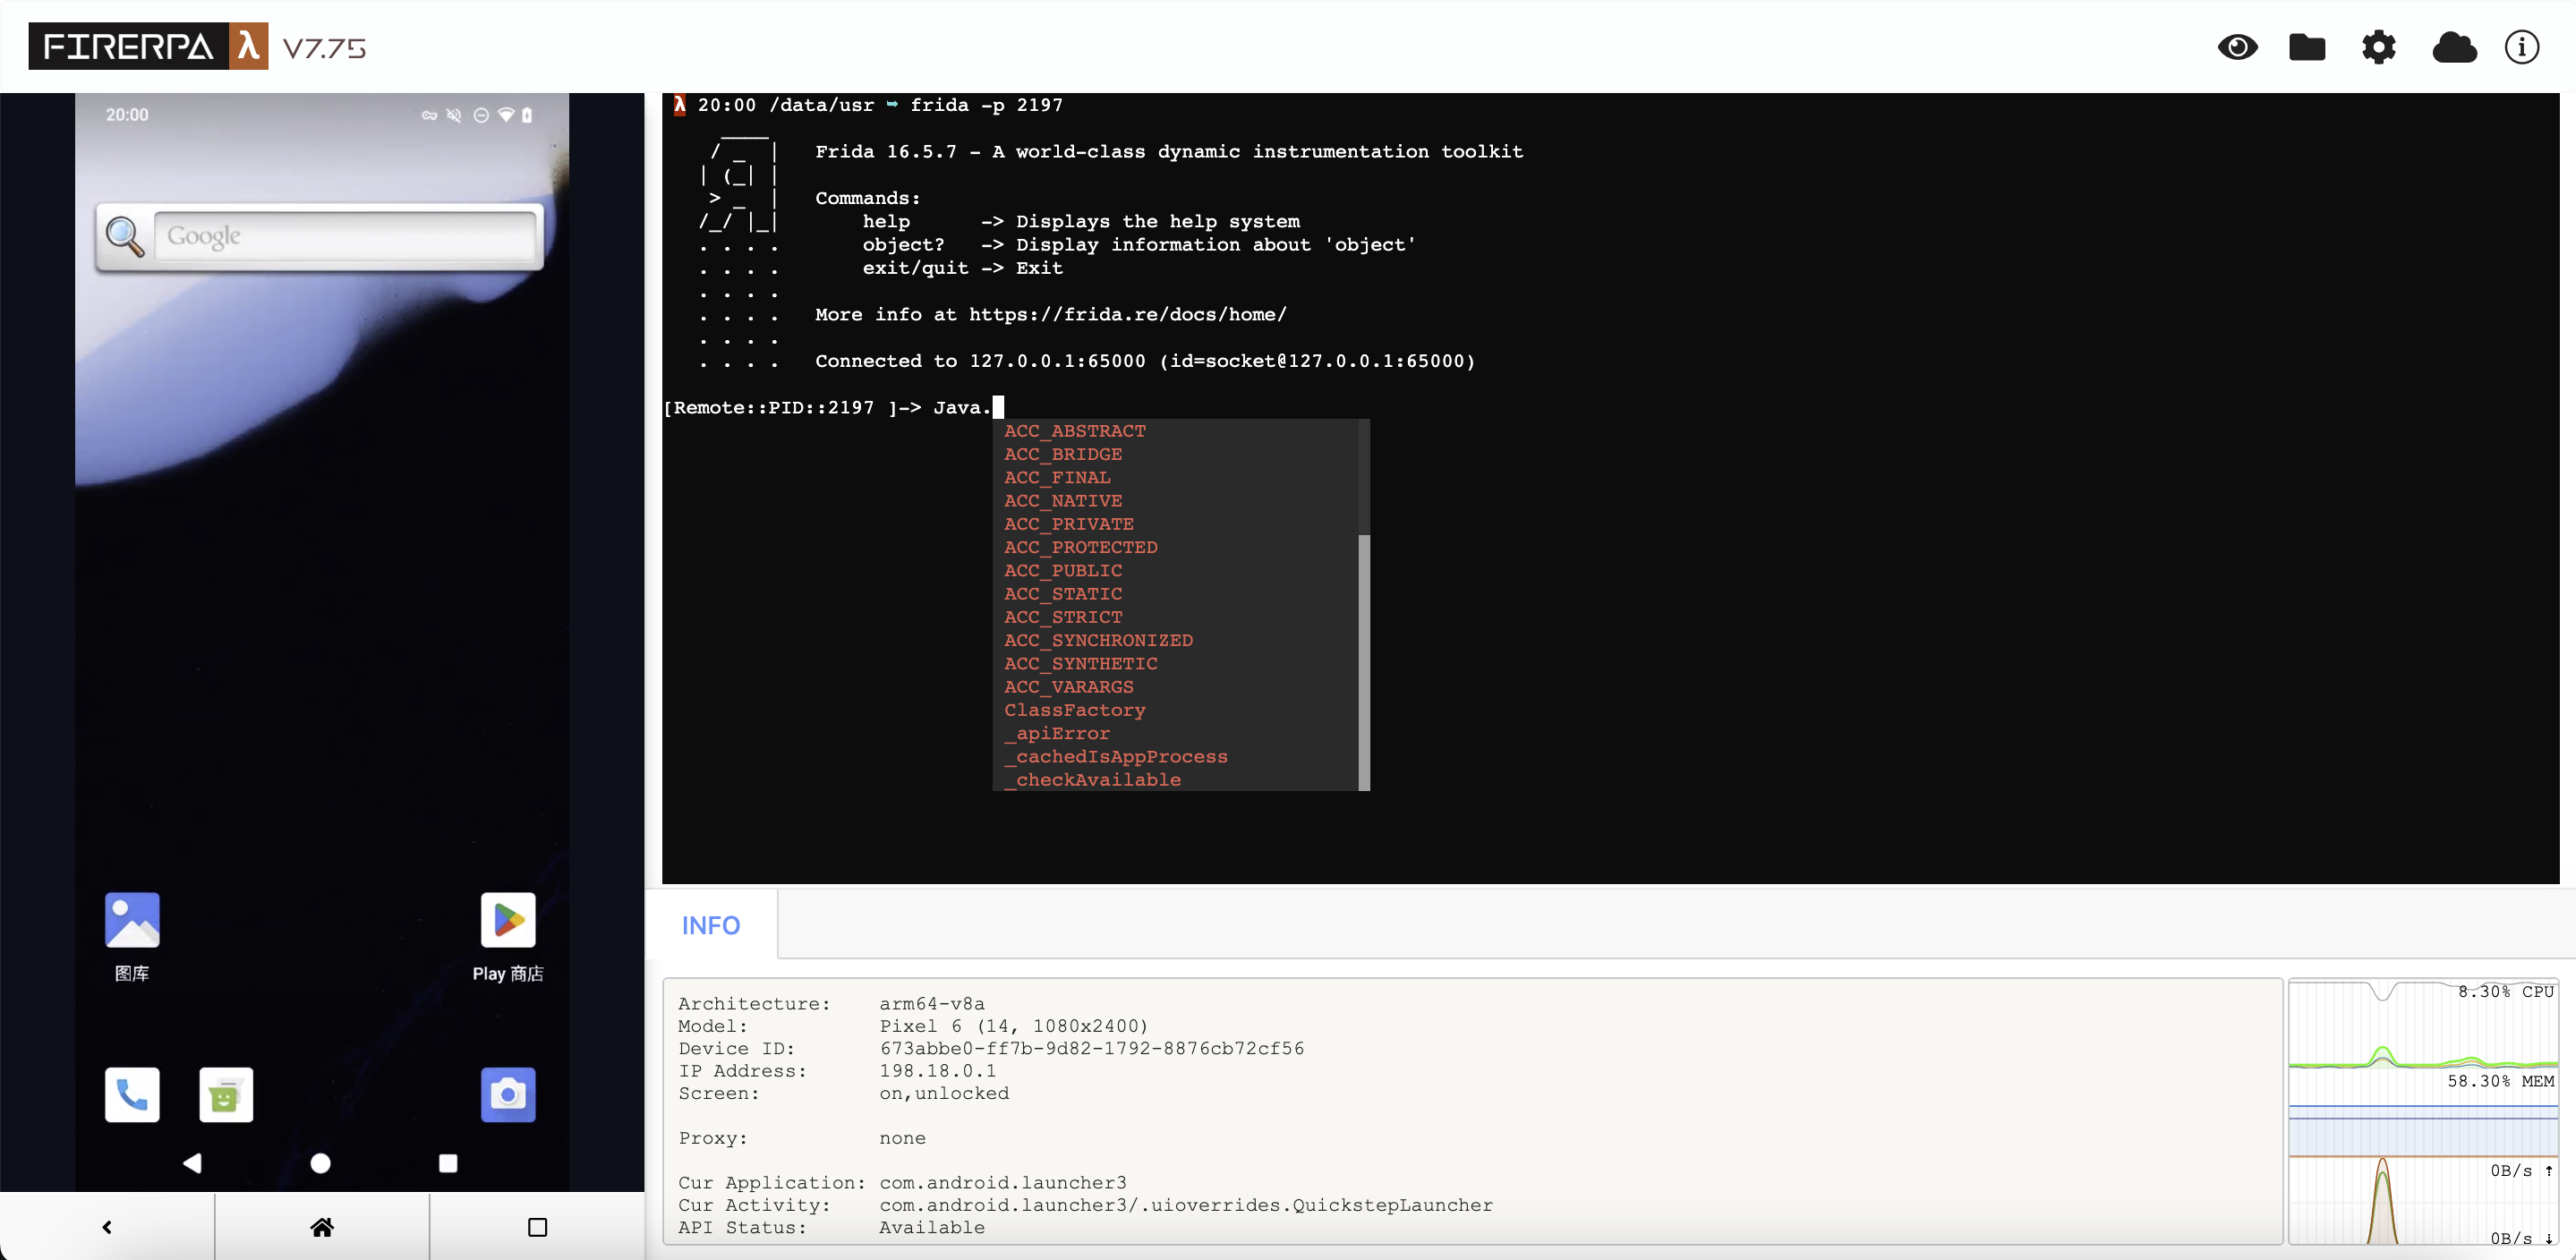
If you need to use the Frida command line, we strongly recommend using the frida, frida-trace, frida-ps and other related commands via Remote Desktop. In that environment, you don't need to do anything extra — just run frida directly without any additional connection parameters like -U, -H, etc., as the built-in environment already has everything configured by default.
If you have read this far, it means you still prefer to use the command on your computer. Now, you need to gather some necessary information based on how the service is installed/running. If you are using a Server Certificate, you need to have that certificate file ready, along with the target device's IP address and the FIRERPA service port (default 65000). Note, this port is not Frida's 27042 port.
Next, you need to use the API to obtain the current token, which is a fixed 16-character string, like czvpyqg82dk0xrnj. We know this might be a bit inconvenient, but your device's security is more important.
token = d._get_session_token()
print(token)
Now you have a token from the above API, suppose it is czvpyqg82dk0xrnj. The next step is to build the Frida command. For all official Frida CLI tools, you simply need to add the parameters -H 192.168.0.2:65000 and --token xxxxxxxxxxxxxxxx, for example:
frida -H 192.168.0.2:65000 -f com.android.settings --token xxxxxxxxxxxxxxxx
If your FIRERPA server is started with a service certificate, you also need to add the --certificate parameter to the command.
frida -H 192.168.0.2:65000 -f com.android.settings --certificate /path/to/lamda.pem --token xxxxxxxxxxxxxxxx
You may have noticed the main differences: -U becomes -H (because we are connecting over the network, not USB), and we add the --token parameter; if the server is using a service certificate, an additional --certificate parameter is required. This is to ensure your device's security and prevent unauthorized access.
Using via Command Line (objection)
For other tools like objection, similar parameters are usually provided, but most unofficial tools have not fully added them. Currently, we have only patched objection, without affecting its original functionality. However, since objection has not been updated for a long time, we have not pushed this patch upstream. You can download the objection-1.11.0-command-patch.diff we provide and apply it to your installed objection code directory (you can find the installation path with the pip3 show objection command).
After that, you can use it as follows. You will see that only an additional --token parameter is needed.
objection -N -h 192.168.0.2 -p 65000 --token xxxxxxxxxxxxxxxx explore
Or, if the server was started with a service certificate, you must also add --certificate in the same way.
objection -N -h 192.168.0.2 -p 65000 --certificate /path/to/lamda.pem --token xxxxxxxxxxxxxxxx explore
Exposing Application Interfaces
This section has been moved to the Frida Export Interfaces chapter.