Debugging Applications with IDA
This chapter will introduce you to how to quickly debug Android applications using FIRERPA and its related features and scripts. Our demonstration environment is Android 10, with a host system of Ubuntu 22.04, and tools such as IDA 7.5 (wine), ADB, jdb, and Python are already installed. It is recommended that your IDA version be 7.5 or higher, and that you have the latest version of the FIRERPA server installed.
Set to Debuggable Mode
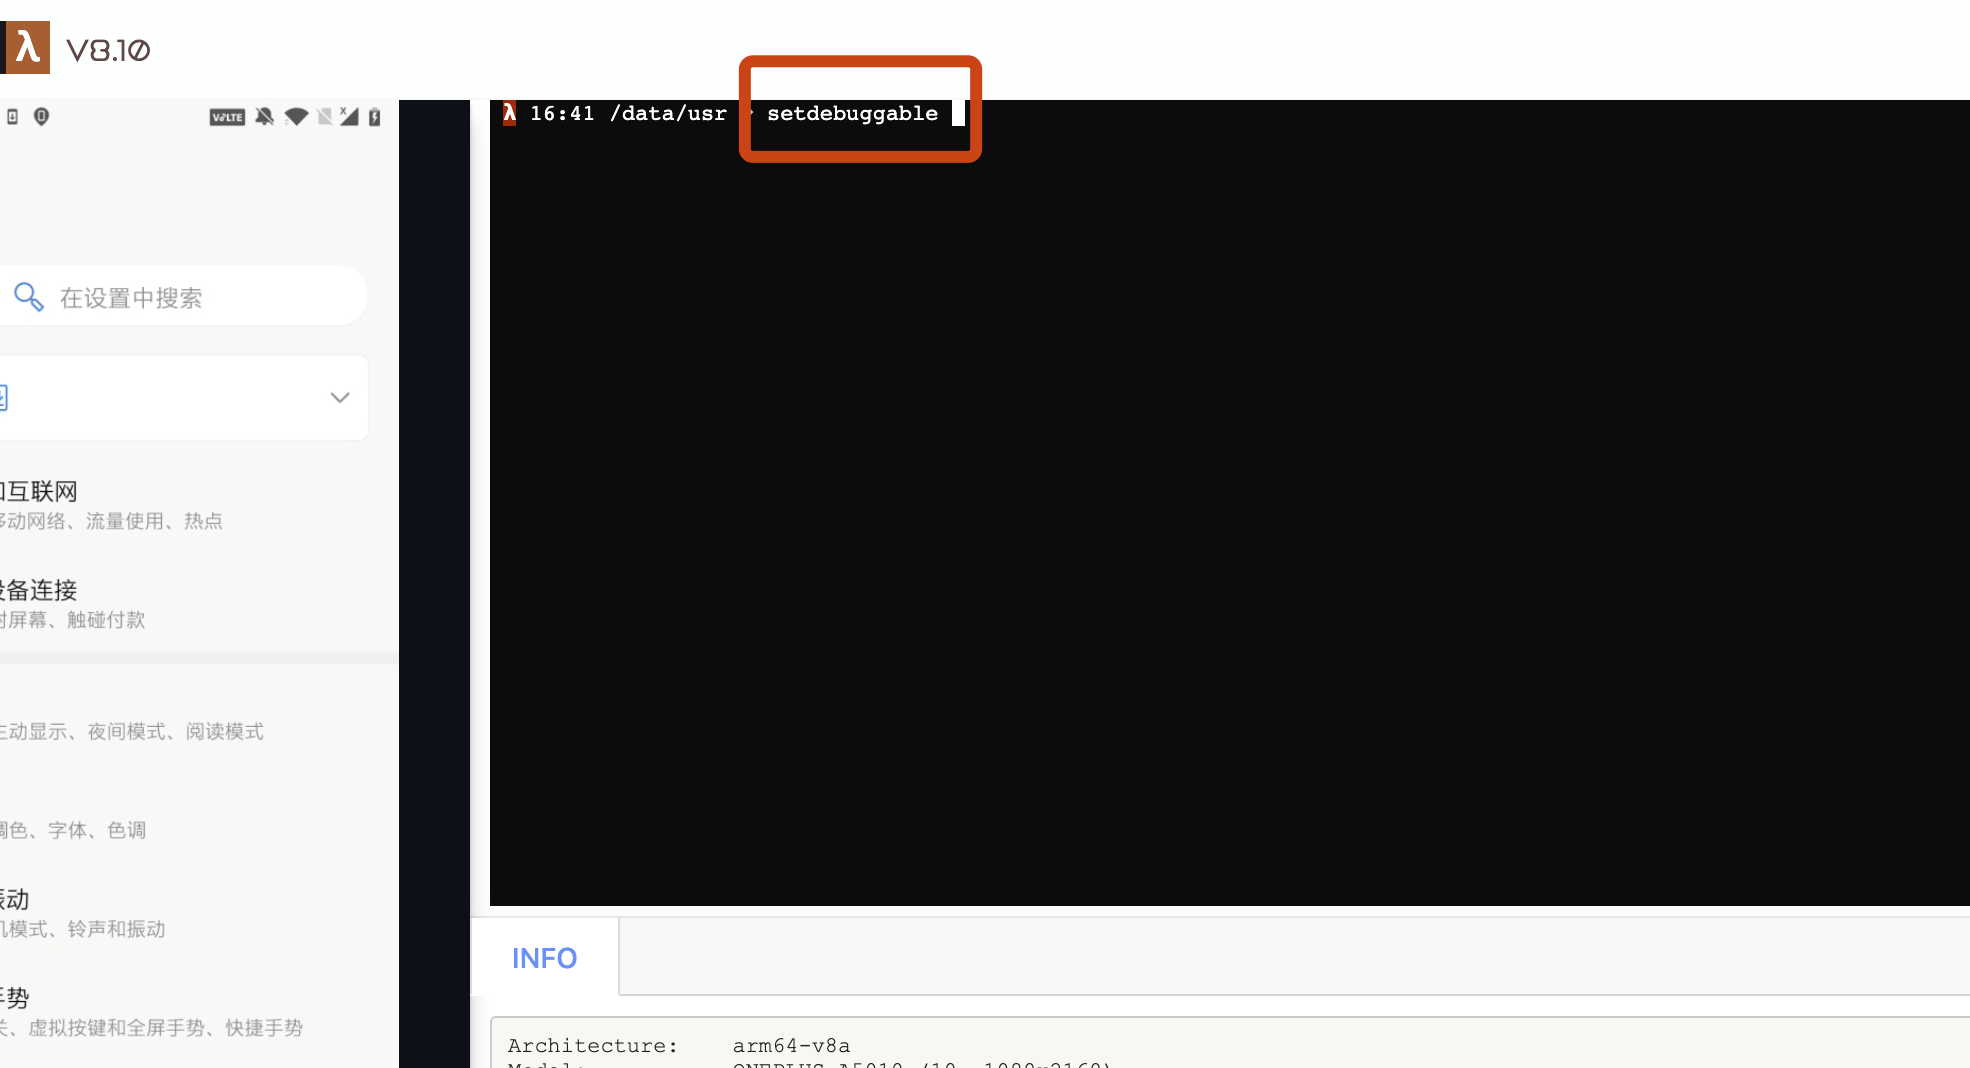
Before proceeding, if your system is already in debug mode, you can skip this step. Otherwise, please open the FIRERPA remote desktop, enter setdebuggable in the terminal. After entering the command, your phone will perform a soft reboot. Don't worry, it will return to normal in about two minutes. At this point, your phone will be in debuggable mode.
Install IDA Debugging Server
Before you continue debugging, you also need to upload the Android debugging server that comes with IDA to your device. You can find android_server and android_server64 in the dbgsrv directory of your IDA installation. If the target application you are debugging uses 32-bit libraries, please use android_server; otherwise, use android_server64. Drag and drop the required file or use adb push to upload it to the Android device, and then grant it executable permissions.
chmod 755 android_server*
After granting executable permissions, you need to start the android_server service. You can run this executable via adb (requires root privileges) or the remote desktop terminal. For higher versions of the system (>=10), you need to set the IDA_LIBC_PATH environment variable beforehand.
IDA_LIBC_PATH=/apex/com.android.runtime/lib64/bionic/libc.so ./android_server64 -kk
Note
Forward IDA Debugging Service
For debugging scenarios that require high real-time performance, we recommend using a USB connection. Please ensure that your device is connected to the current computer and that adb authorization has been granted, then execute the following command.
adb forward tcp:23946 tcp:23946
Note
Start Application Debugging
We haven't done much work, just encapsulated a script for you that can help automate most of the subsequent operations. Just follow the prompts from the script's output. You can find the ida.py script in the project's tools directory. Use the following command to run it.
python3 ida.py -d 192.168.0.2 -a com.android.settings
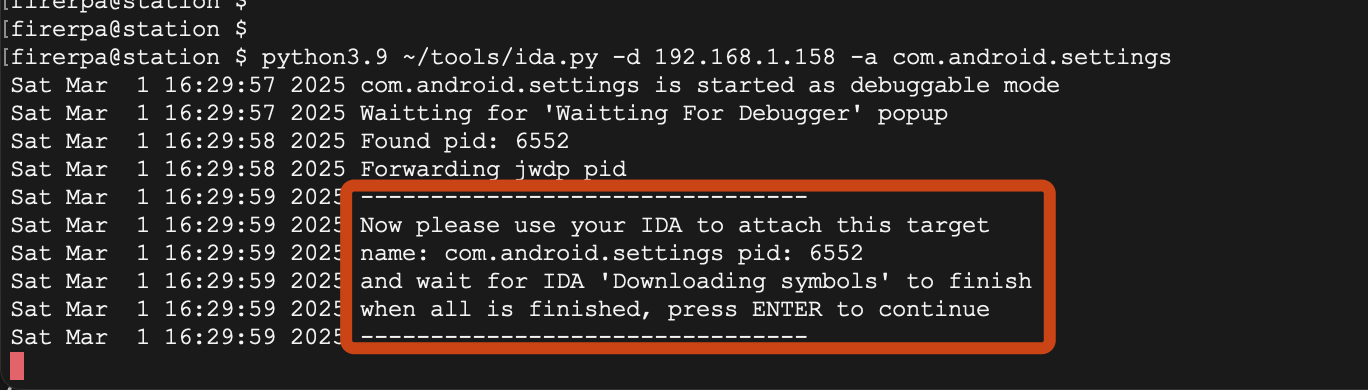
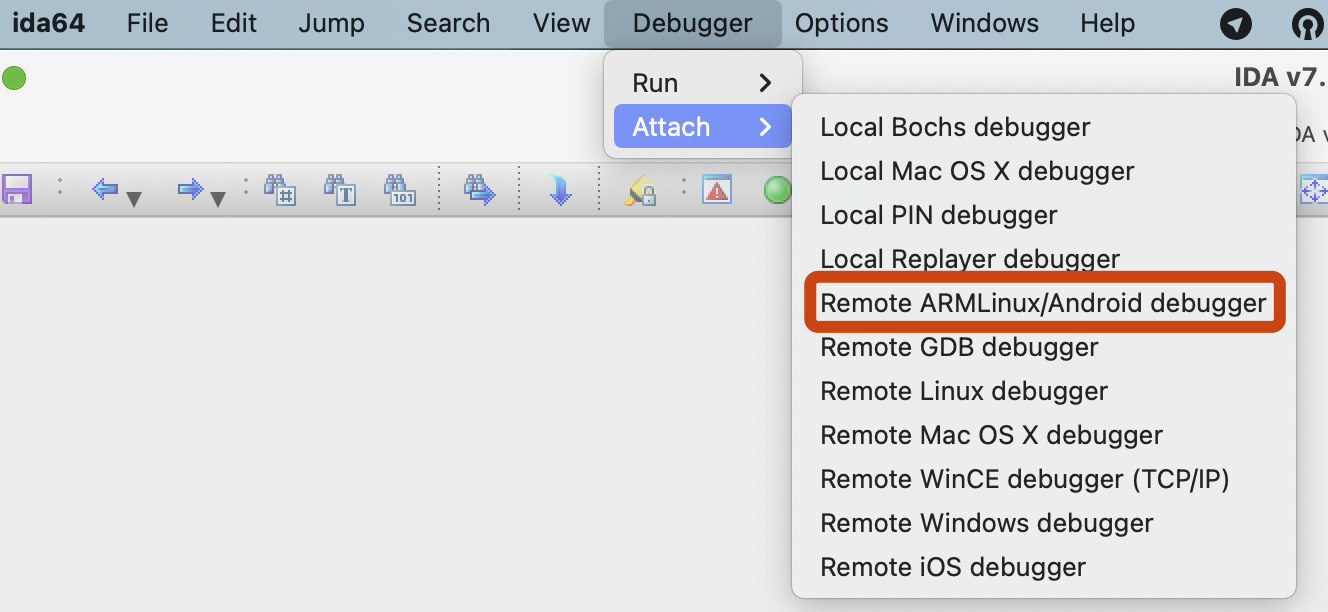
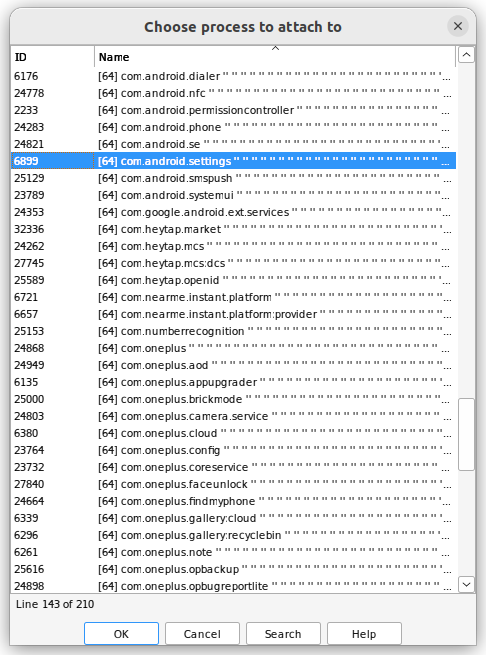
Here, the -d parameter is your device's IP, which is the IP of the device running the FIRERPA service, and the -a parameter is the application's package name. After executing the command, you will be prompted to attach your IDA software to the application process.
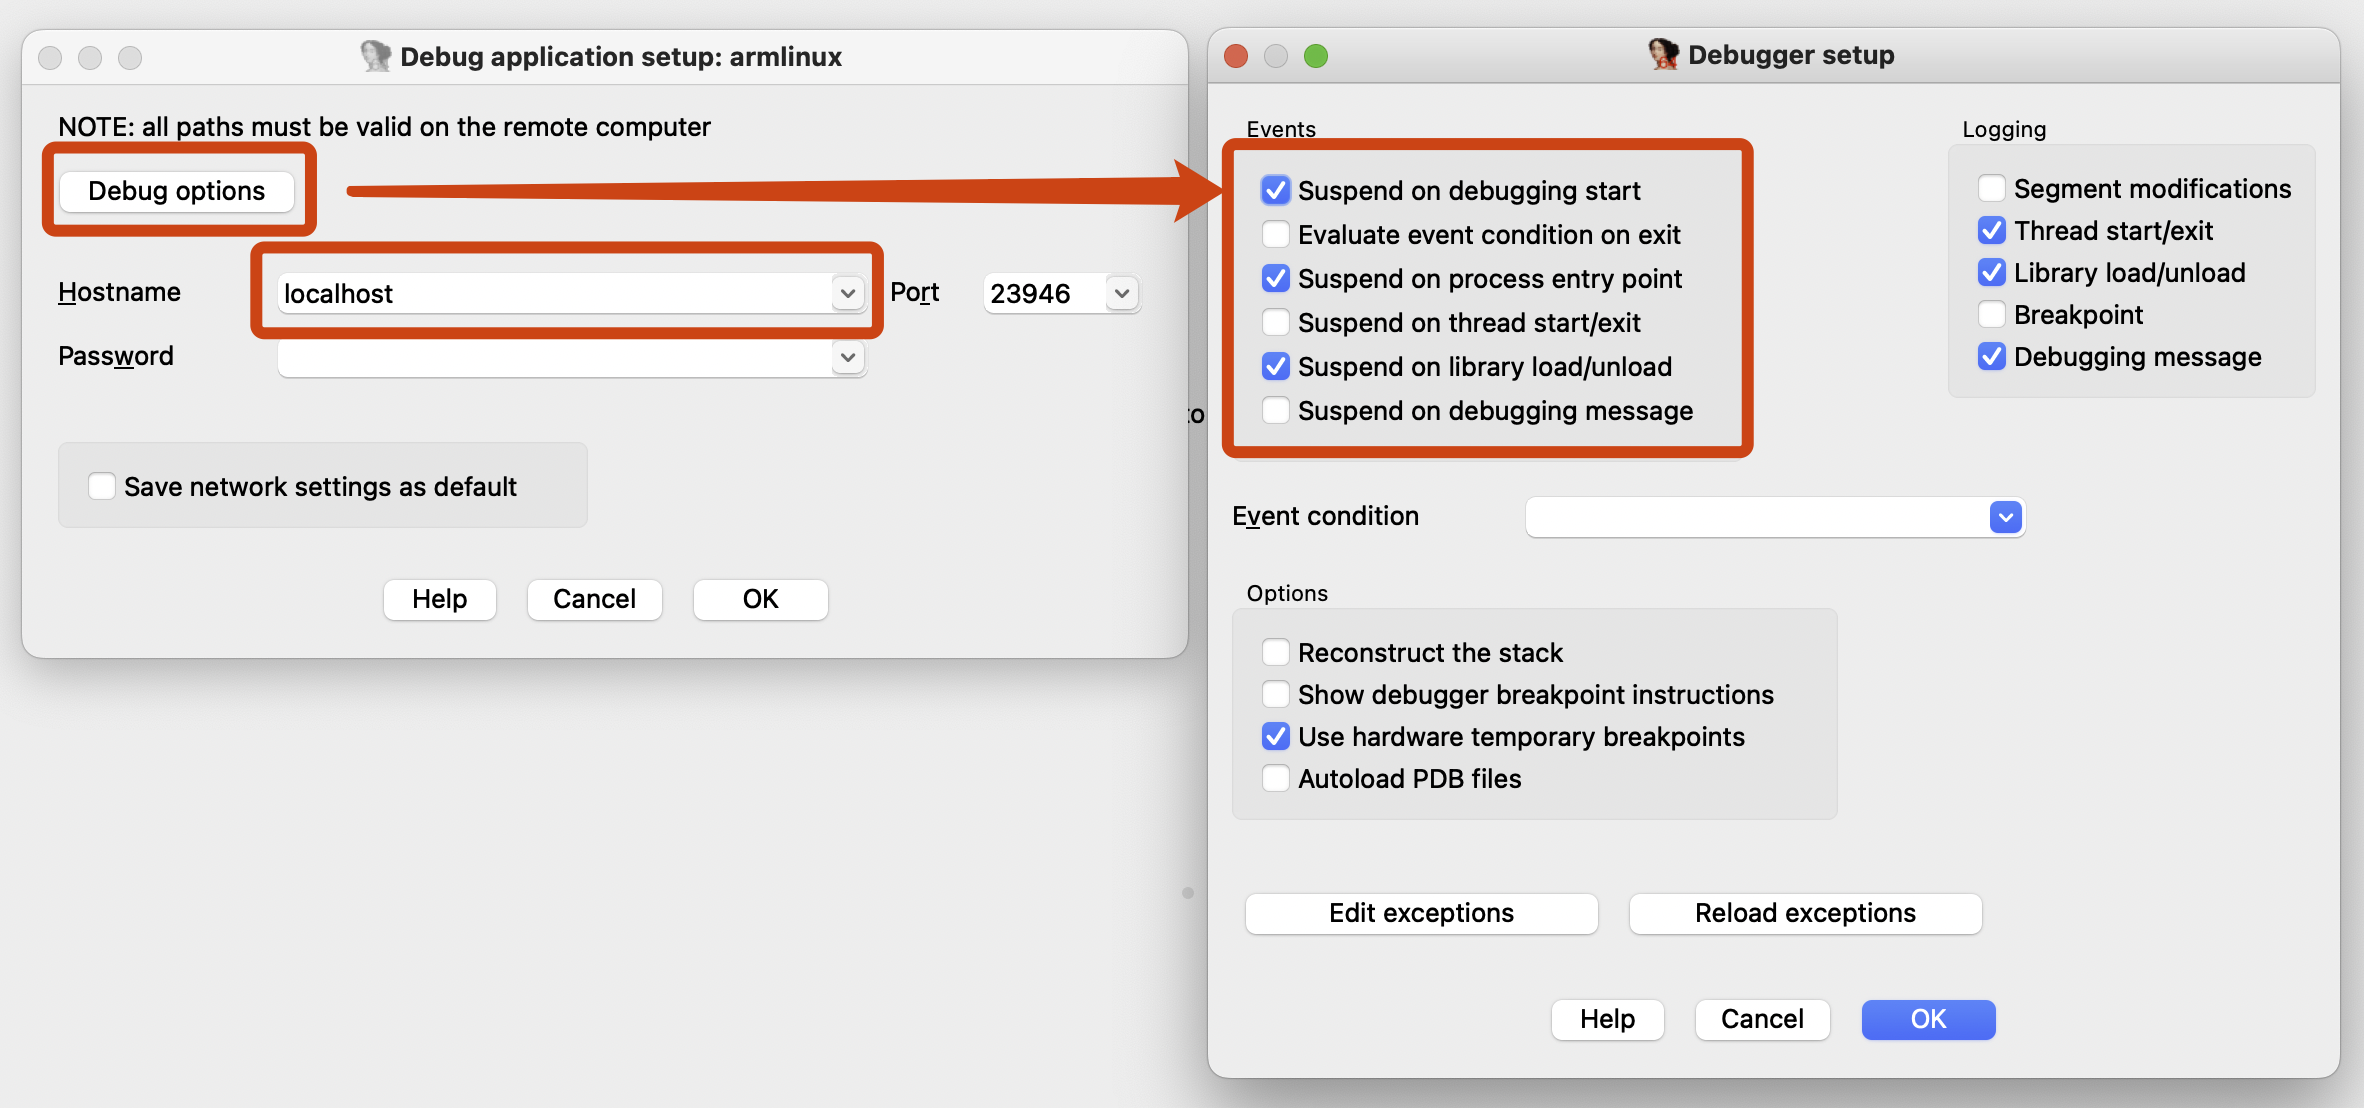
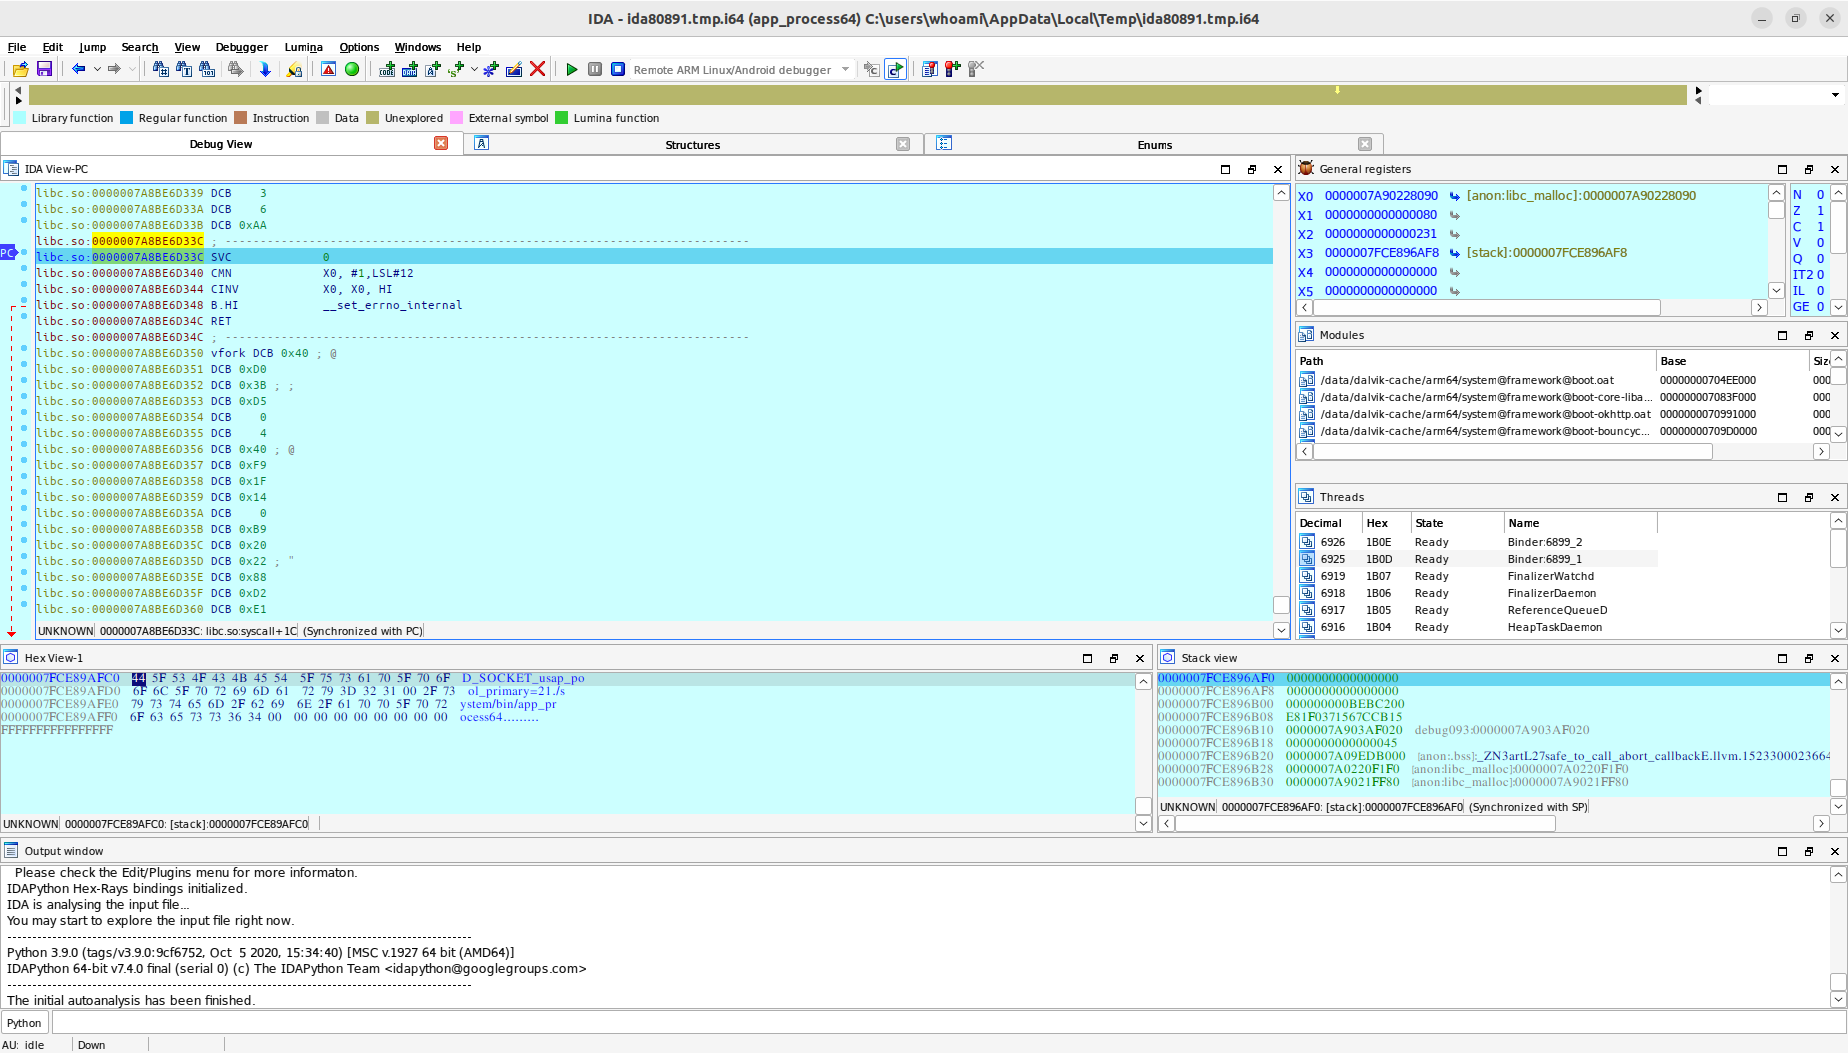
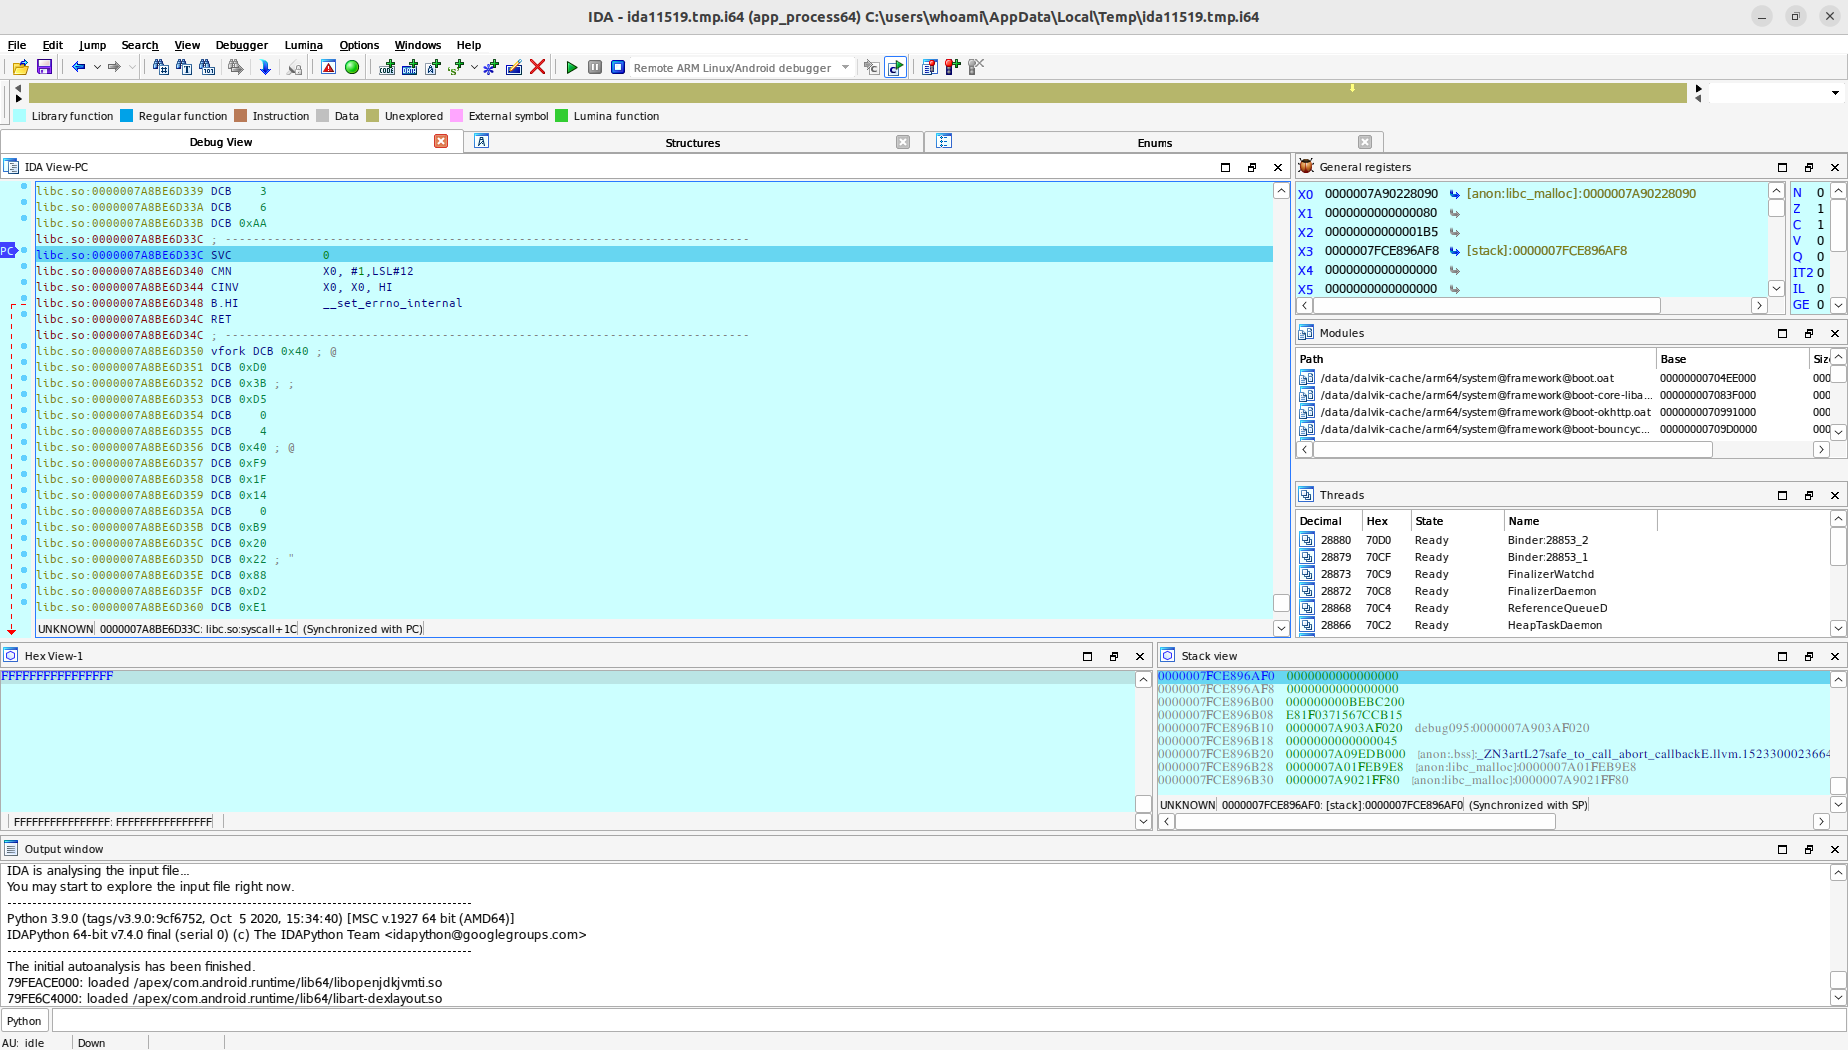
Alright, the entire process is complete. Please return to the ida.py command line and press the Enter key. You can now continue debugging.