Quick Start
This article will guide you through the simplest way to get started. Before we begin, please make sure you have an Android phone with root privileges.

Hint
You should ensure that the software version you’re using is always the latest. The documentation follows a step-by-step process, and you should read it sequentially from the first chapter.
Now please click the link to download our auto-start application lamda-autorun.apk, install it, open the APP and grant root permissions. After the automatic installation completes, turn on the Auto-start switch and restart your device. (If your device has settings that prevent apps from auto-starting, please add our APP to the auto-start whitelist, otherwise the service may not start properly).
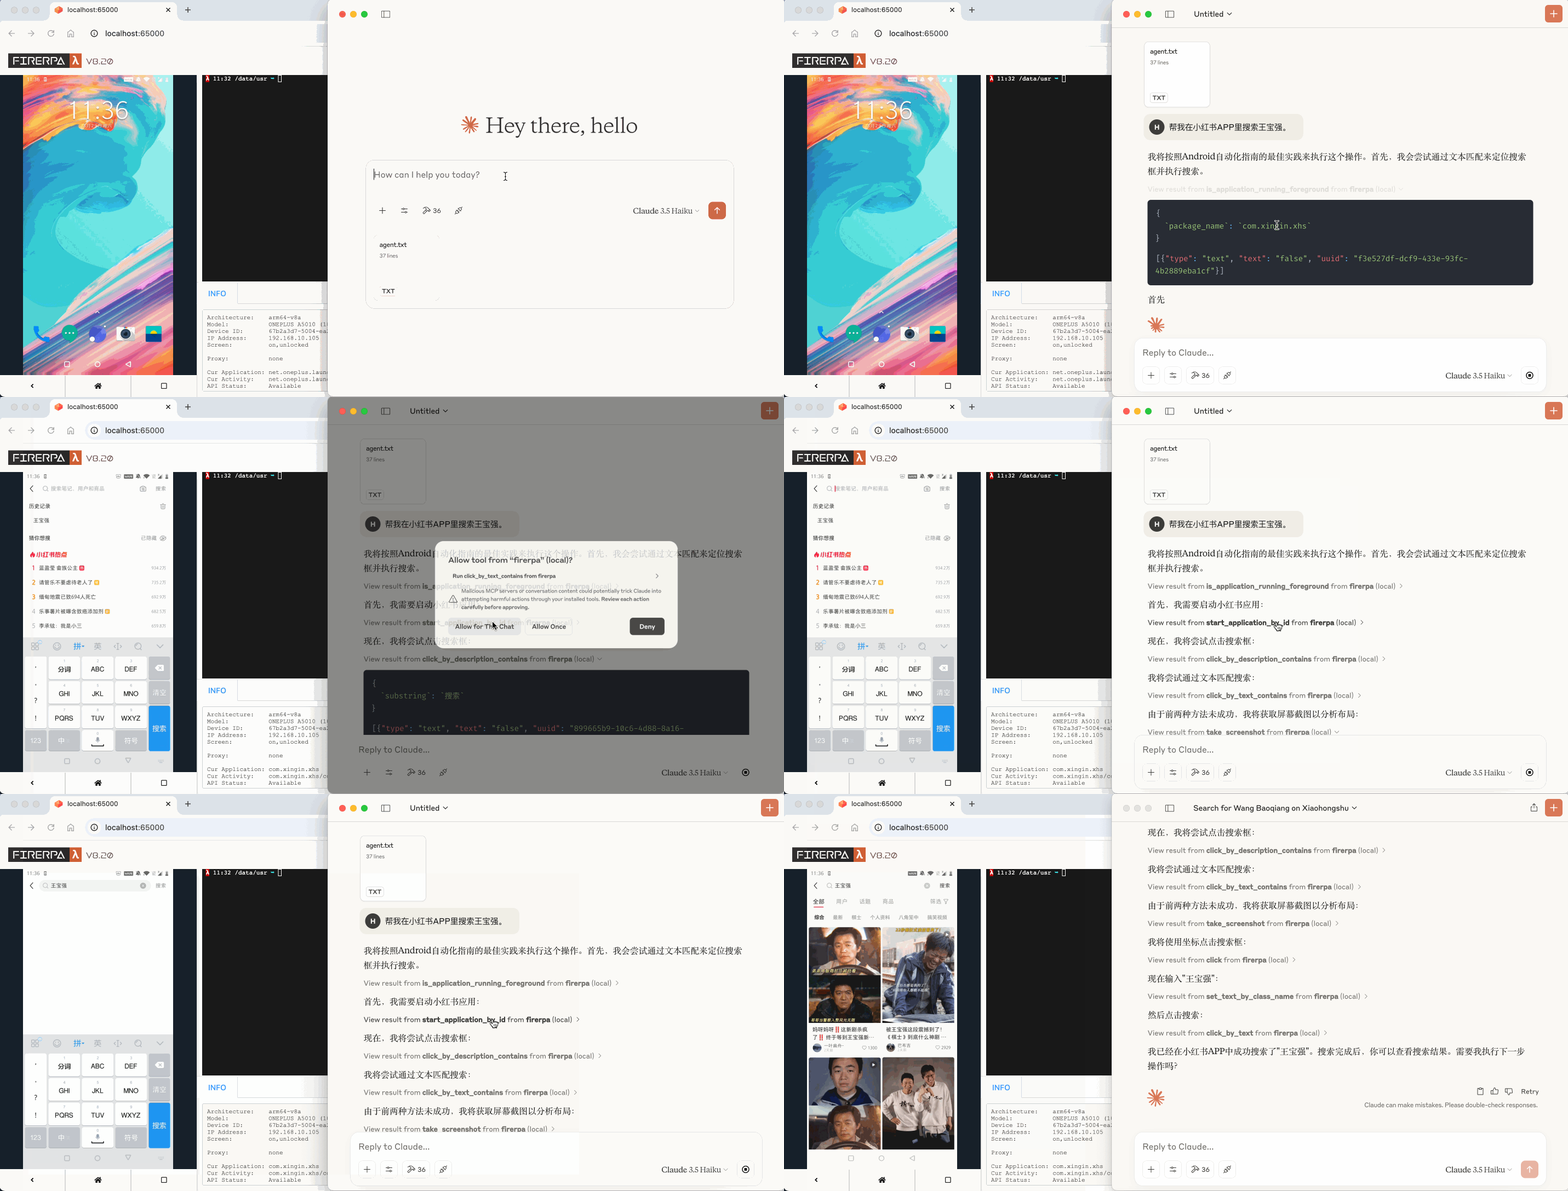
After restarting your device, we recommend waiting 1-2 minutes. Then, open your WIFI settings and find your device’s internal IP address in the WLAN settings, such as 192.168.1.8. Now open a browser on your computer and enter the URL http://192.168.1.8:65000. If everything is correct, you will be able to access the FIRERPA remote desktop as shown below. At this point, you’ve already completed a significant step.

Tip
If you still cannot connect after restarting, you may need to check if the network is properly connected, such as simulator bridging, etc. The Installation Preparation chapter describes the settings required for each platform in detail. If everything has been set up correctly, try running the command adb shell su root sh /data/server/bin/launch.sh to manually start the service to rule out the possibility that the APK did not auto-start properly.
Hint
When in doubt, first check the documentation. If you still have questions, join our group to ask. You can find contact information in the Services and Support chapter.
Of course, this is just our most basic installation operation and remote desktop functionality. We offer much more than this, with more APIs and tools for you to use. You can continue to explore the rest of the documentation to learn more!