Using Built-in Frida
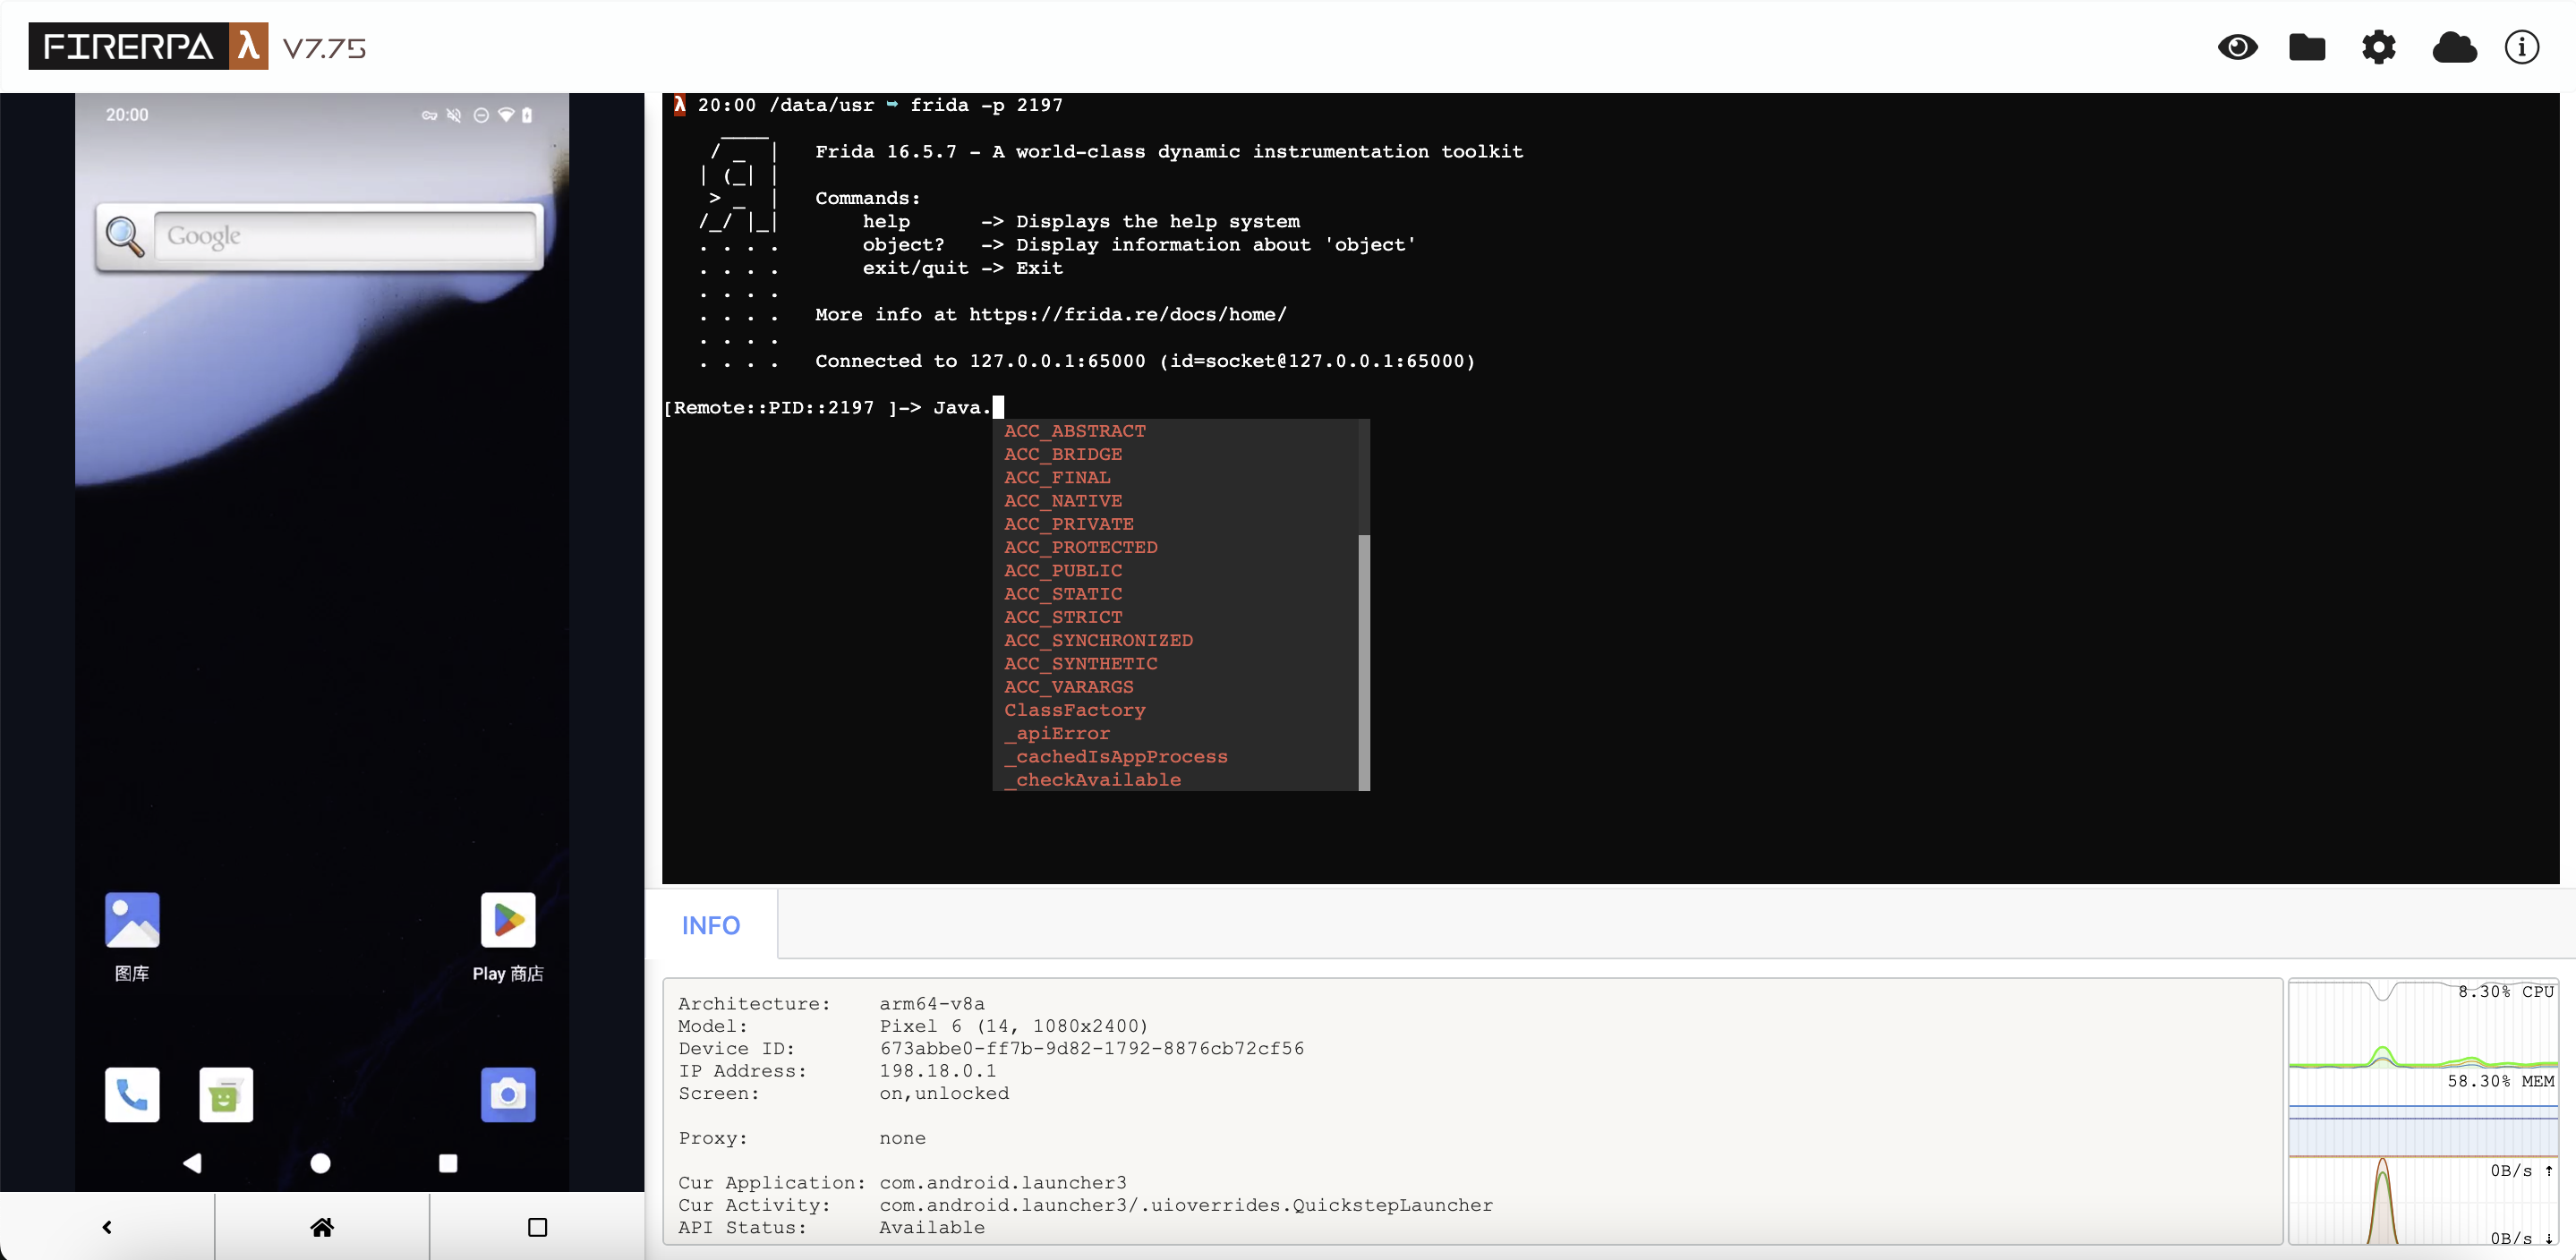
FIRERPA has built-in the latest version of Frida, so you don’t need to start frida-server yourself. Our built-in Frida already has various open-source hiding patches and additional hiding features we’ve added ourselves, so you don’t need to worry about Frida being detected. If our built-in Frida is detected, it means almost all frida-servers you can download cannot escape the fate of being detected. So feel free to use it, you don’t have to worry about these miscellaneous things.
Hint
Since FIRERPA version 7.18, the built-in FRIDA requires a token parameter to connect. Of course, the client library has handled everything for you. If you are using a version before 7.18, please check the documentation for older versions to learn how to use it.
Using Through Code
Using the FIRERPA client API, you just need to use d.frida as shown below to get an instance connected to frida-server, without having to construct the connection using the frida library yourself.
conn = d.frida
conn.enumerate_processes()
Of course, if you want to understand its underlying implementation, you can also refer to the following code.
# Get dynamic token
token = d._get_session_token()

manager = frida.get_device_manager()
conn = manager.add_remote_device("192.168.0.2:65000", token=token)
conn.enumerate_processes()
The rest is up to how you use it, now you have normally obtained the instance.
Using Through Command Line
Using through the command line might be a bit complicated, because we also need to ensure the security of your device. We also want to remind you not to limit your thinking by the commands in other articles. You need to note that many frida commands in articles will have a -U parameter. We don’t have it here, so if you can’t connect, make sure your command is used strictly according to the examples.
Before we start, we should mention that we highly recommend you use frida, frida-itrace, frida-trace, frida-ps and other related commands through the remote desktop, because in this environment, you don’t need to do anything, you just need to execute frida, without providing any other connection parameters like -U, -H, etc.

Since you’ve already seen below, it means you still want to use the command on your computer. Now, you need to organize some information according to the installation situation. If you started FIRERPA with an encryption certificate, you need to prepare that file. Also, you need to prepare the IP address of the device you need to connect to and the FIRERPA service port (default 65000). Note that this port is not Frida’s 27042 port, but the FIRERPA service port. You only need to connect to FIRERPA.
First, you need to use the API to get the current token, which is a fixed 16-character string, such as czvpyqg82dk0xrnj. We understand this method may be a bit troublesome, and there might be some usability changes in the future. This is also why we suggested above that you use frida-related commands in the remote desktop.
token = d._get_session_token()
print (token)
Now, you’ve got a token from the above interface. Let’s assume it’s czvpyqg82dk0xrnj. Now we start writing the frida command. For all frida official command-line tools, you just need to add the parameter -H 192.168.0.2:65000 and --token xxxxxxxxxxxxxxxx by default, for example, like this. Especially, especially, especially note that there is no -U parameter here.
frida -H 192.168.0.2:65000 -f com.android.settings --token xxxxxxxxxxxxxxxx
If your FIRERPA server was started with an encryption certificate, you also need to add the --certificate parameter to the command.
frida -H 192.168.0.2:65000 -f com.android.settings --certificate /path/to/lamda.pem --token xxxxxxxxxxxxxxxx
You may have discovered that the difference is just three things: -U becomes -H because we need to connect through the network rather than USB, there’s an additional --token parameter, and if the server has enabled encryption certificates, there’s also an additional --certificate parameter, because we need to ensure the security of your device and prevent unauthorized access.
Using Through Command Line (objection)
For other tools like objection, there are usually also the above parameters available, but most non-standard tools do not fully add these parameters. Currently, we have only patched objection, which does not affect the original usage, but since objection has not been updated for a long time, we do not push to the source. You can download our provided objection-1.11.0-command-patch.diff and apply this patch to your installed objection code directory (you can find out the installation path through the pip3 show objection command).
After that, you can use it in the following way. As you can see, it just adds a --token parameter.
objection -N -h 192.168.0.2 -p 65000 --token xxxxxxxxxxxxxxxx explore
Or if the server was started with an encryption certificate, you also need to add --certificate to the command in the same way.
objection -N -h 192.168.0.2 -p 65000 --certificate /path/to/lamda.pem --token xxxxxxxxxxxxxxxx explore
Exposing Application Interfaces
This paragraph has been moved to the Using Frida to Export Interfaces chapter.